Roman Colosseum
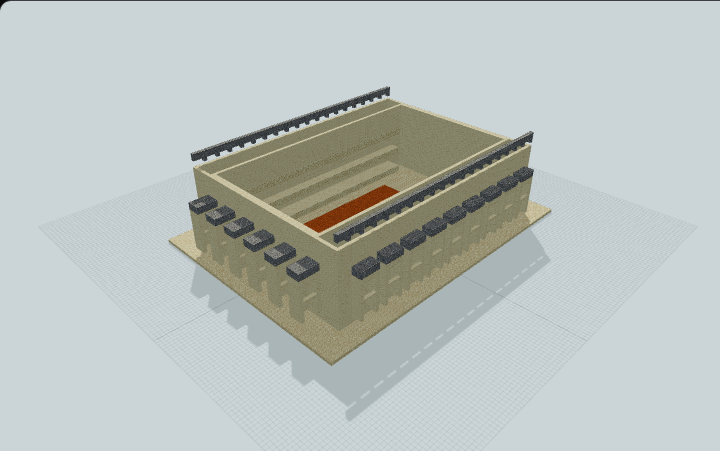
Recreate a monumental Roman Colosseum with stacked arcade tiers surrounding stepped spectator seating and a central arena. Designed for historical cities, server events, and PvP matches.
WorldEdit .schem selected. A native .litematic file is also available.
3D Preview
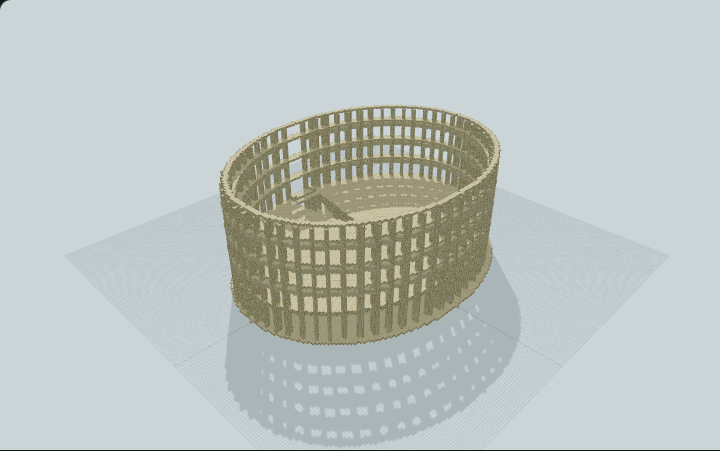 Loading 3D preview…
Minecraft Java Edition · Sponge .schem · Litematica .litematic
Verification details
No revision-bound verification record is currently published for this build.
A 3D preview shows appearance, not game behavior. Bedrock conversion and Litematica compatibility are not verified unless separately recorded.
Place the Roman Colosseum
Plan a 144 × 120 block site with 52 blocks of height. This sandstone landmark contains 87,399 placed blocks and is best suited to a city centerpiece or a server arena project.
- 1
Prepare the terrain
Choose a broad, level site. Align local Y=0 with the intended ground surface, then inspect the foundation and clear terrain or trees before building. The file includes no surrounding landscape.
- 2
Check the footprint
Reserve the full 144 × 120 bounding footprint, including its empty margins, plus working space outside it. Leave 52 blocks of vertical clearance above the placement origin.
- 3
Orient the placement
Without rotation, width runs east–west (+X) and length north–south (+Z). A quarter-turn swaps the horizontal footprint to 120 × 144. Check placement coordinates and the hologram before committing.
- 4
Build or import deliberately
Use Litematica as a layer-by-layer construction reference; its hologram does not place blocks automatically. The existing .schem remains available for a separate WorldEdit import workflow.
- 5
View a large hologram
If distant sections are missing, check loaded client chunks. The tested client can load the full schematic with loadEntireSchematics enabled in Generic settings; larger holograms need more memory.
- 6
Plan realistic use
Budget 87,399 sandstone-family blocks. Adapt the central arena for events or roleplay after construction; the artifact does not provide automatic games, Redstone systems or event rules.
Native import verified with Minecraft Java 26.3, Fabric Loader 0.20.0, Fabric API 0.163.0+26.3, Litematica 0.29.1 and MaLiLib 0.30.2. Other versions need their own check; the source DataVersion is preserved.
Build Facts
JSON fact sheet- Dimensions
- 144 x 52 x 120 blocks
- Compiled blocks
- 87,399
- Category
- large build
- Updated
Curated by MinePilot from a CraftDAG component plan. Canonical page: https://www.myminepilot.com/builds/roman-colosseum
Materials
87,399 blocksPlaced block counts · stack equivalents, not crafting ingredients. Expand for exact BlockStates.
 Sandstone64,9711015×64 + 11
minecraft:sandstone× 64,971 Cut Sandstone18,396Placed blocks
minecraft:cut_sandstone× 18,396 Smooth Sandstone4,032Placed blocks
minecraft:smooth_sandstone× 4,032Layer Guide
51 layersShowing the first 12 layers. Open the playground for the full interactive layer slider.
Import Guide
Java Edition- Download the protected
.schemfile for Roman Colosseum. - Place it in your WorldEdit or Litematica schematics folder.
- Load the schematic in-game, preview placement, then paste or build layer by layer.