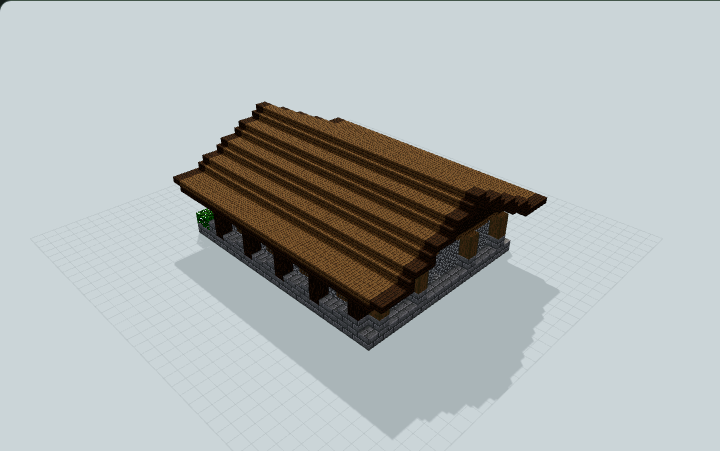
Terraced Root Cellar and Pantry
A buried pantry shell with a broad descending stair, three stepped storage bays, earth roof terraces and a vented passage, built for organized food storage at your survival base.
WorldEdit .schem available. No native .litematic file for this build.
3D Preview
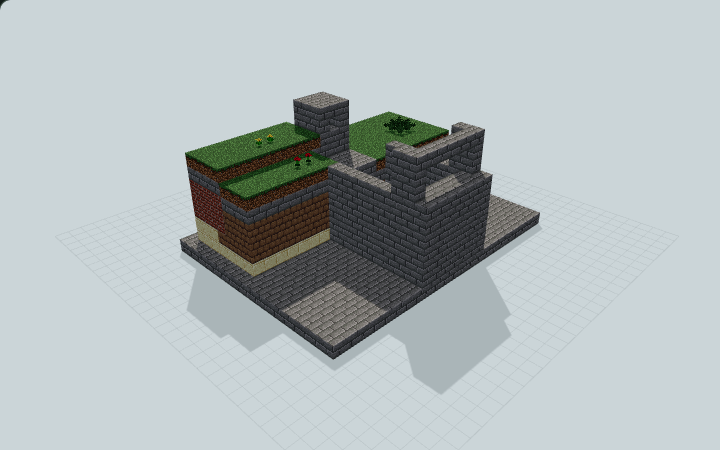 Loading 3D preview…
Minecraft Java Edition · Sponge .schem
Verification details
No revision-bound verification record is currently published for this build.
A 3D preview shows appearance, not game behavior. Bedrock conversion and Litematica compatibility are not verified unless separately recorded.
Excavate Before Installing
This is an underground architectural shell. It requires a prepared pit; the upper stair mouth is at surrounding ground level, not the lower pantry entrance.
- 1
Prepare the excavation
Clear a 23×17 footprint down seven blocks below the intended standing ground level. Keep the north approach clear and leave the cellar rooms and stairwell empty.
- 2
Align the paste origin
Place local schematic origin (0,0,0) at the pit bottom. Local block Y6 must meet the surrounding ground surface; the upper north landing is feet Y7.
- 3
Enter the pantry
Approach from the north at feet Y7. Descend the six supported treads to feet Y1, enter the central passage, then use the three bays at feet Y1, Y2 and Y3.
- 4
Stock and finish
Stock the containers manually after installation. Surrounding terrain is not supplied; keep the stairwell, vent outlets and pantry rooms clear when backfilling outside the shell.
No refrigeration, food-preservation mechanic, temperature effect, automatic storage or living suite is supplied. Geometry checks do not establish native Minecraft interaction.
Build Facts
JSON fact sheet- Dimensions
- 23 x 10 x 17 blocks
- Compiled blocks
- 1,264
- Category
- other
- Updated
Curated by MinePilot from a CraftDAG component plan. Canonical page: https://www.myminepilot.com/builds/terraced-root-cellar
Materials
1,264 blocksPlaced block counts · stack equivalents, not crafting ingredients. Expand for exact BlockStates.
 Stone Bricks84013×64 + 8
minecraft:stone_bricks× 840 Grass Block1231×64 + 59
minecraft:grass_block× 123 Cut Sandstone94Placed blocks
minecraft:cut_sandstone× 94Packed Mud75Placed blocks
minecraft:packed_mud× 75 Bricks6060 / 64 stack
minecraft:bricks× 60Mud Bricks4242 / 64 stack
minecraft:mud_bricks× 42 Barrel99 / 64 stack
minecraft:barrel[facing=east,open=false]× 3minecraft:barrel[facing=north,open=false]× 3minecraft:barrel[facing=south,open=false]× 3Torch88 / 64 stack
minecraft:wall_torch[facing=east]× 4minecraft:wall_torch[facing=south]× 2minecraft:wall_torch[facing=west]× 2Fern4Placed blocks
minecraft:fern× 4Dandelion2Placed blocks
minecraft:dandelion× 2Poppy2Placed blocks
minecraft:poppy× 2Pumpkin2Placed blocks
minecraft:pumpkin× 2 Chest11 / 64 stack
minecraft:chest[facing=south,type=single,waterlogged=false]× 1Crafting Table11 / 64 stack
minecraft:crafting_table× 1Hay Block11 / 64 stack
minecraft:hay_block[axis=y]× 1Layer Guide
10 layersImport Guide
Java Edition- Download the protected
.schemfile for Terraced Root Cellar and Pantry. - Place it in your WorldEdit or Litematica schematics folder.
- Load the schematic in-game, preview placement, then paste or build layer by layer.
Finding related builds…